ActivitySmith MCP Server
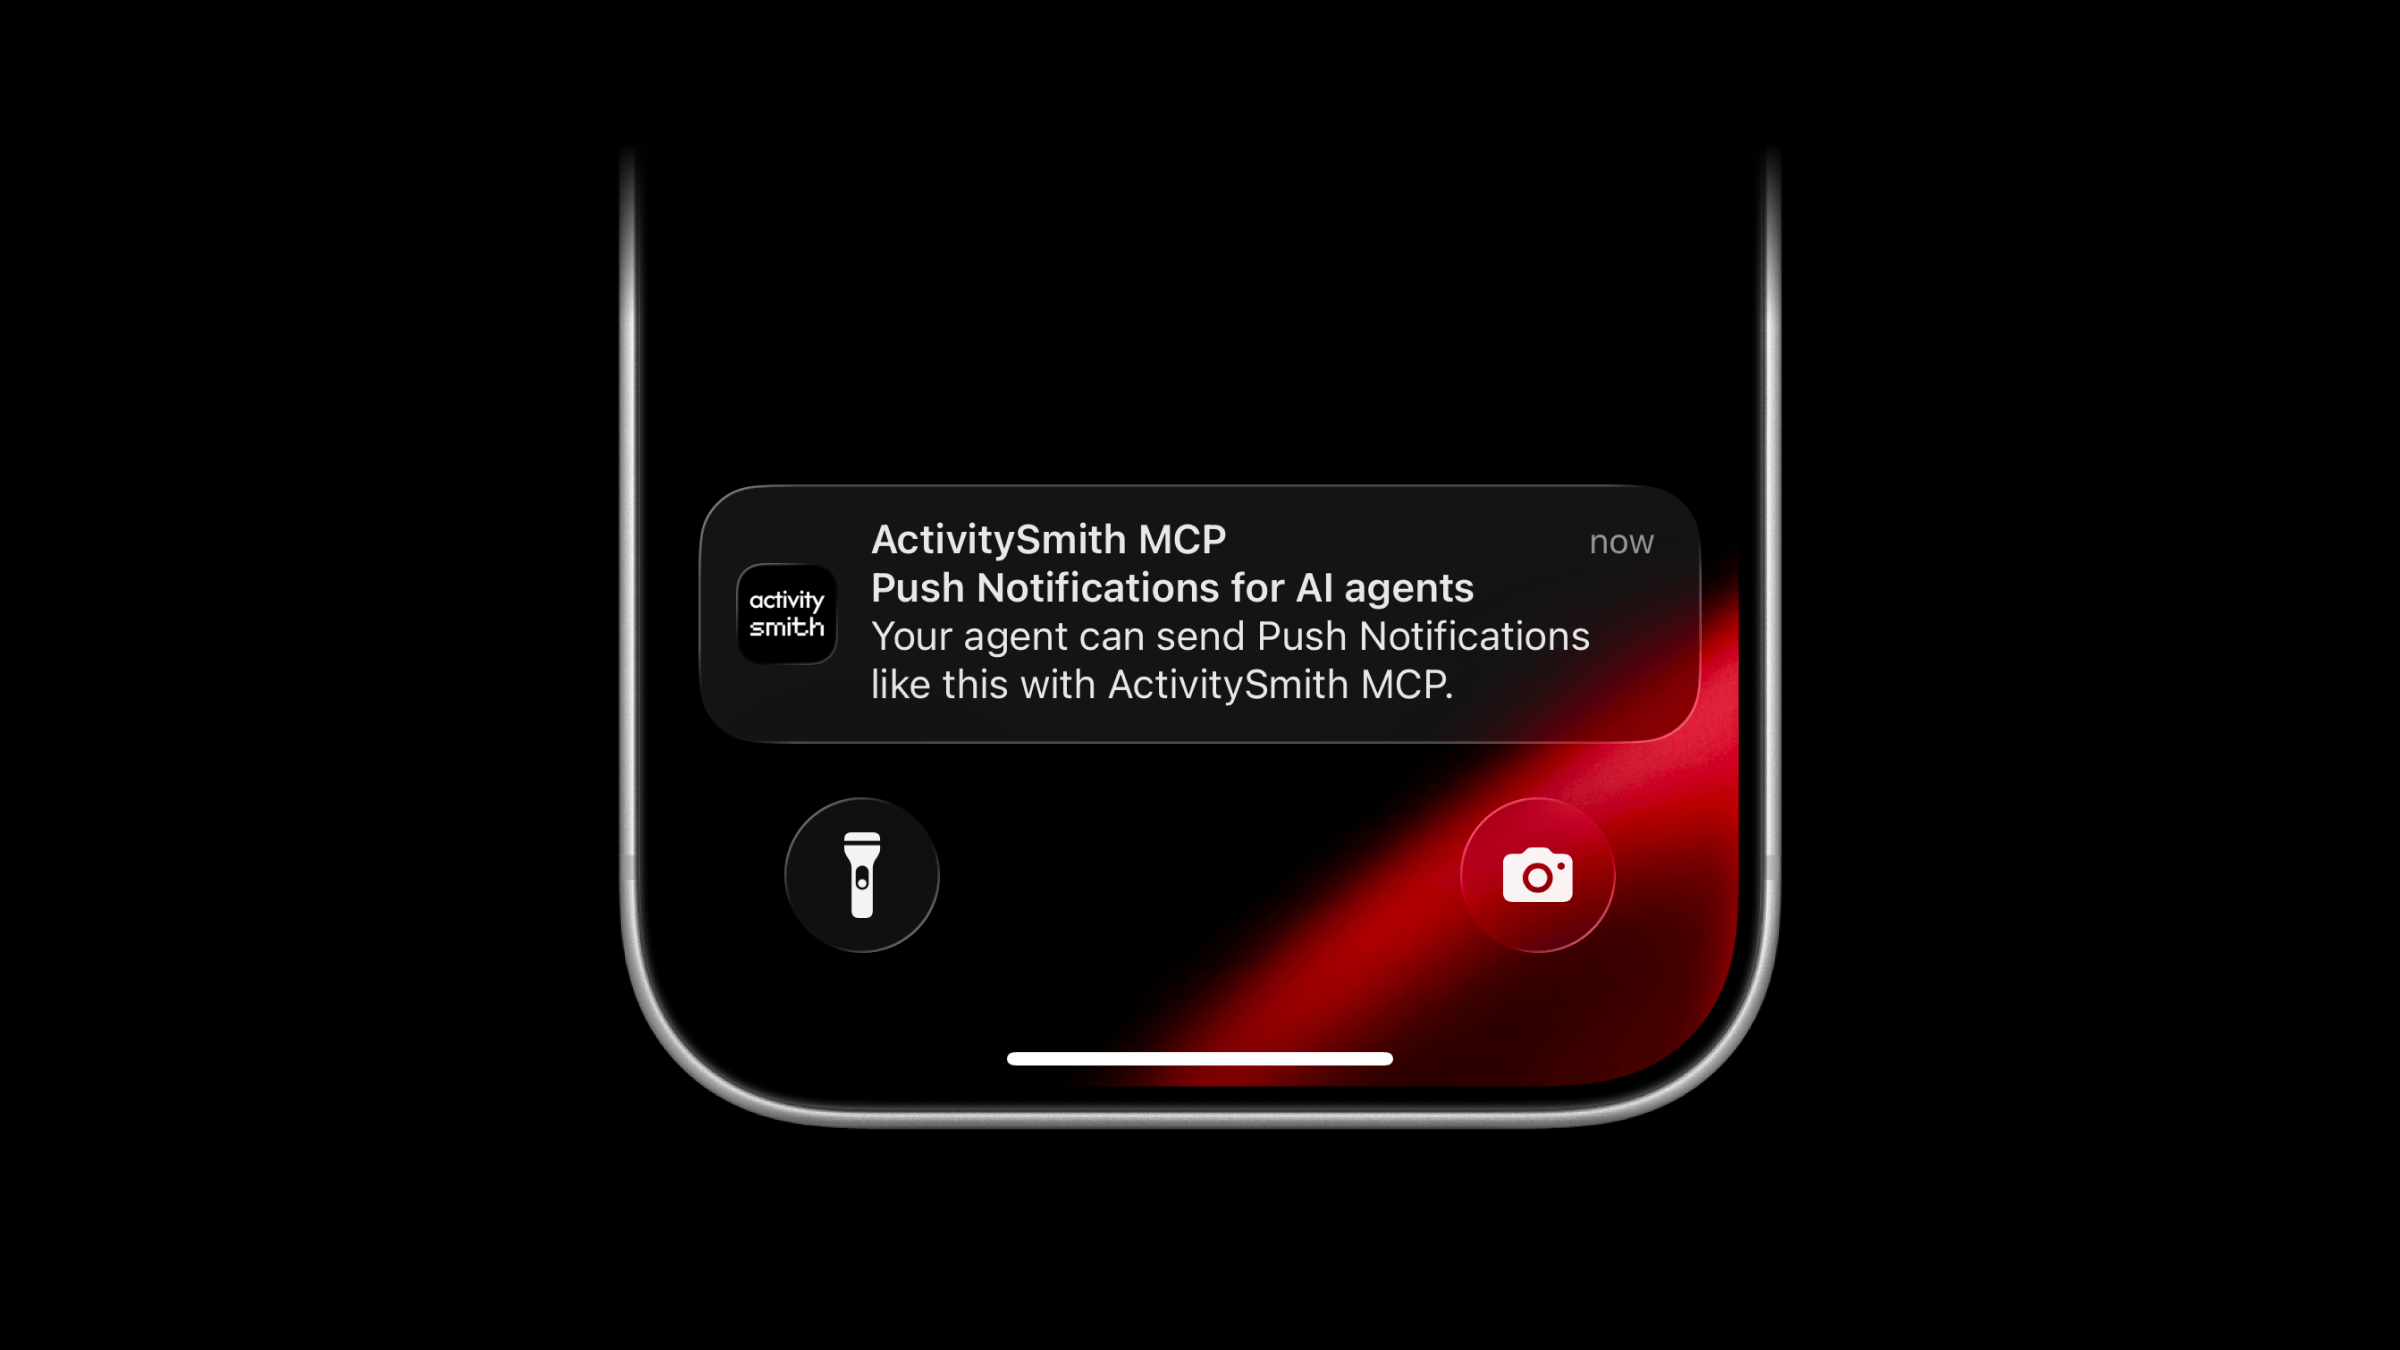
Your AI models and agents can use our official MCP server to send you Push Notifications and show real-time updates with Live Activities.
Connect to it natively from Claude Code, Cursor, Codex, Grok, or any other client that supports remote MCP servers, then authorize access through ActivitySmith.
There is nothing to host or update on your side. The server runs on our infrastructure, speaks standard MCP over Streamable HTTP, and includes tools for sending Push Notifications, starting, updating, and ending Live Activities, and updating values shown in your Lock Screen widgets. Channels and tags provide optional targeting and organization when you need them.
What Agents Can Do
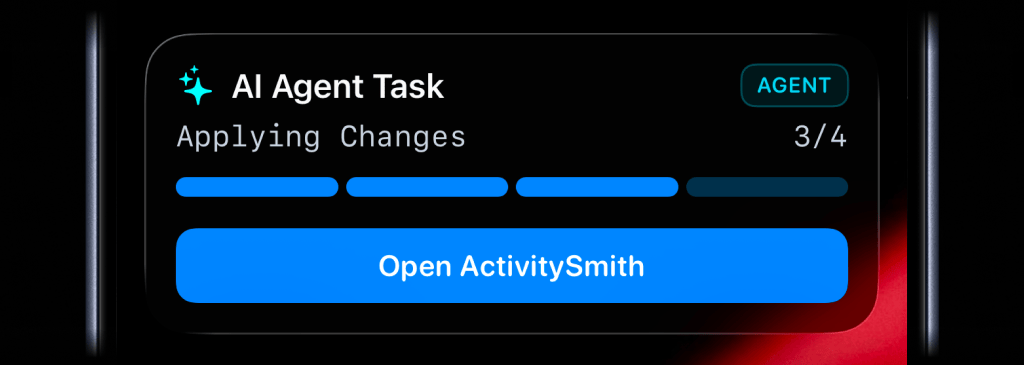
The first set of tools focuses on the ActivitySmith workflows agents are already useful for:
- Send Push Notifications to your paired devices.
- Start, update, and end Live Activities to show real-time business metrics, operational state, or ongoing work on your Lock Screen.
- Review Push Notification and Live Activity history.
- Update values shown in Lock Screen widgets.
- Target Push Notifications and Live Activities to specific users or devices with optional Channels.
API key administration remains in the ActivitySmith web app and is not exposed to MCP clients.
Setup Instructions
The server URL is the same in every client:
https://mcp.activitysmith.com/mcpClaude Code
1. Register the ActivitySmith MCP server
Open a terminal and run this command. User scope makes ActivitySmith available in Claude Code across all your projects.
claude mcp add --transport http --scope user activitysmith https://mcp.activitysmith.com/mcp2. Open the MCP menu
Start a new Claude Code session, run /mcp inside the session, and select activitysmith.
3. Approve access
In Claude Code, select Authenticate to open the authorization page. Sign in if prompted, review the requested access, then click Approve.
4. You're ready
Return to Claude Code. ActivitySmith tools are now available in your sessions across all projects.
Cursor
Install in Cursor with one click.
If you prefer manual setup, add the server to ~/.cursor/mcp.json:
{ "mcpServers": { "activitysmith": { "url": "https://mcp.activitysmith.com/mcp" } }}Cursor prompts you to log in the first time the server is used.
Codex
codex mcp add activitysmith --url https://mcp.activitysmith.com/mcpThen authenticate:
codex mcp login activitysmithApprove the OAuth screen in your browser, restart Codex, and the ActivitySmith tools will be available in new sessions.
Grok
In Grok, open Connectors, select New Connector, then select Custom and enter:
https://mcp.activitysmith.com/mcpComplete the OAuth flow in the pop-up window. If Safari blocks it, allow pop-up windows for grok.com and try again.
For Grok Build, add the server from a terminal:
grok mcp add --transport http activitysmith https://mcp.activitysmith.com/mcpOther MCP Clients
For any client that asks for a remote MCP server URL, use:
https://mcp.activitysmith.com/mcpThe authorization flow happens in ActivitySmith. After approval, tools run against the account you authorized.
You can always find the latest setup details on the MCP Server integration page.
Ready to let your agents keep you posted?
Start your 7-day free trial. No credit card required.
